
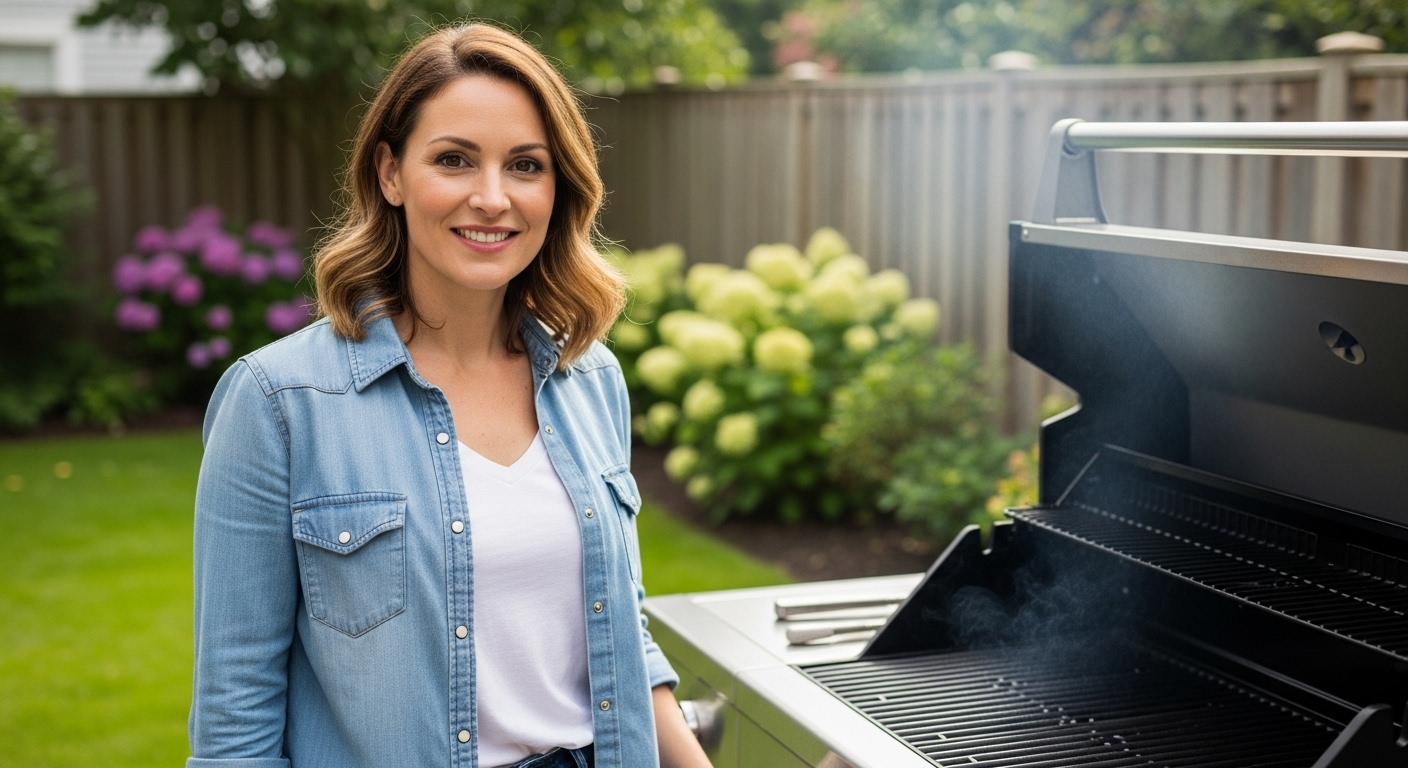

Starting a natural gas grill requires verifying the gas supply is active and the ignition system is functional before attempting to light the burners. Unlike propane, natural gas relies on a permanent line connection, so the process begins with ensuring the main valve and the grill’s control knobs are in the correct positions. A successful start usually involves turning the first burner knob to the ignition position and holding the spark button until the flame catches.
Many owners face issues with sputtering flames or failed ignitions due to blocked ports or weak spark plugs. Understanding the specific mechanics of your unit, such as whether it uses a piezoelectric or electronic ignition system, helps prevent common mistakes. This guide details the step-by-step procedure, safety precautions, and troubleshooting tips to ensure your grill reaches cooking temperature efficiently and safely. If you are also interested in preparing your workspace, check out our bbq prep table guide for essential setup ideas.


The primary goal is to establish a stable flame on the first burner to warm the cooking surface. Natural gas grills operate differently from propane units because they are connected to a continuous supply line, which affects how you manage pressure and ignition. Always ensure the lid is open before igniting to prevent gas accumulation inside the cabinet.
| Step | Action | Key Detail |
|---|---|---|
| 1 | Check Gas Supply | Ensure main line valve is open and no leaks are visible. |
| 2 | Open Lid | Prevent gas buildup and ensure safety. |
| 3 | Set Knob to Ignite | Turn first burner knob to high/ignite position. |
| 4 | Press Spark Button | Hold button while observing burner ports. |
| 5 | Adjust Heat | Set desired temperature once flame is stable. |
Before turning any knobs, inspect the area around the gas line connection for signs of a leak. A hissing sound or the smell of gas indicates a problem that must be resolved immediately. If you detect a leak, close the main gas supply valve and contact a professional. The grill should be placed on a stable, non-flammable surface at least 10 feet away from any structure.
Open the grill lid fully to ensure fresh air flow and to see the burners clearly. Locate the main gas control knobs on the front panel. Turn the knob for the left burner (or the one connected to the primary ignition circuit) to the “High” or “Ignite” position. This opens the gas flow to that specific burner assembly.
Press and hold the electronic ignition button. You should hear a distinct clicking sound as the spark plug generates a high-voltage arc. Watch the burner ports closely for a flame to catch. If the flame does not appear within 10 to 15 seconds, release the button, turn the knob to “Off” for 30 seconds, and try again. Do not continue pressing the button if no flame appears, as this can overheat the ignition module.
Once the flame is established, adjust the knob to your desired cooking temperature. Allow the grill to preheat for 10 to 15 minutes. This ensures the grates are hot enough to sear food properly and prevents sticking. If using multiple burners, turn them on one by one after the first burner is stable to ensure even heating.
Safety Checks and Gas Leak Detection
Safety is the most critical aspect of operating any gas appliance. Natural gas is odorless, so utilities add a mercaptan odorant to help you detect leaks. However, you should not rely solely on smell. A soap and water solution applied to the connection points can reveal bubbles if there is a leak. Never use an open flame to check for leaks, as this can cause an explosion.
Ensure the grill is positioned on a flat, non-combustible surface.
- Keep flammable materials, such as paper, wood, or plastic, at least 10 feet away from the grill.
- The area above the grill should be clear of overhanging branches or eaves.
- If you are using a conversion kit, verify that all fittings are tight and the hose is not kinked or damaged.
- Check for gas odor before and during use.
- Verify the main gas line valve is fully open.
- Ensure the grill lid is open before igniting.
- Keep a fire extinguisher rated for Class B fires nearby.
- Do not use the grill in an enclosed space like a garage.
- Inspect the gas hose for cracks or wear regularly.
- Turn off the gas supply at the main valve when not in use.
Ignition System Types and Troubleshooting
Most natural gas grills use either a piezoelectric or an electronic ignition system. Piezoelectric igniters use a mechanical press to generate a spark, while electronic igniters use a battery-powered circuit. If your grill fails to ignite, the issue is often a dirty spark plug or a blocked burner port. Clean the spark plug with a dry cloth and ensure it is positioned correctly, typically 2 to 4 millimeters from the burner port.
Blocked burner ports are a common cause of uneven flames or failed ignitions. Food debris, grease, or insect nests can block the small holes in the burner tube. Use a needle or a thin wire to gently clear any obstructions. Avoid using abrasive tools that could damage the burner. If the spark is weak or absent, check the battery in the ignition module if applicable, or ensure the piezoelectric wire is securely connected.
If the grill ignites but the flame sputters or goes out, the gas pressure may be inconsistent. This can happen if the main gas line is partially closed or if the regulator is faulty. Check the main valve to ensure it is fully open. If the problem persists, the regulator may need to be replaced. Always consult a licensed gas fitter for any issues involving the gas line or regulator.
For grills that have been converted from propane to natural gas, ensure the correct orifices are installed. Using propane orifices with natural gas can lead to a dangerous overpressure situation. The orifice size must match the fuel type and the BTU rating of the grill. If you are unsure about the compatibility of your conversion kit, refer to the manufacturer’s instructions or seek professional advice.
Preheating and Heat Management
Preheating is essential for achieving good sear marks and cooking food evenly. Set all burners to high and close the lid for 10 to 15 minutes. This allows the grates and cooking chamber to reach a consistent temperature. Once preheated, you can adjust the burners to medium or low for indirect cooking. Indirect heat is useful for larger cuts of meat that require longer cooking times without charring the exterior.
Manage flare-ups by keeping the lid closed and adjusting the heat. Flare-ups occur when fat drips onto the flame and ignites. This is normal but can be controlled by reducing the gas flow or moving the food to a cooler part of the grill. Never use water to extinguish a flare-up, as this can cause the grease to splatter and spread the fire. Instead, let the flare-up subside or use a fire extinguisher if it becomes unmanageable.
Monitor the cooking temperature using a grill thermometer. While built-in thermometers are convenient, they can be inaccurate. An external digital thermometer placed in the cooking zone provides a more reliable reading. Adjust the gas knobs as needed to maintain the desired temperature. Consistent heat control is key to cooking food safely and to perfection.
Maintenance and Cleaning Tips
Regular cleaning extends the life of your grill and ensures safe operation. After each use, brush the grates while they are still warm to remove food particles. Clean the drip pan regularly to prevent grease buildup, which can cause flare-ups and fire hazards. Wipe down the exterior of the grill with a damp cloth to remove dirt and grime.
Inspect the gas line and hose for signs of wear or damage every season. Look for cracks, kinks, or corrosion. Replace the hose if it shows any signs of deterioration. Check the spark plug and clean it as needed. Store the grill in a dry, covered area to protect it from the elements. Using a grill cover helps keep the unit clean and protected when not in use.
If you are using a conversion kit, ensure the connections are tight and the hose is not kinked. A kinked hose can restrict gas flow and lead to uneven heating. Store the conversion kit in a dry place when not in use. If you are not using the grill for an extended period, close the main gas supply valve to prevent any potential leaks.
For more tips on cooking specific dishes, check out our korean beef bbq recipe for ideas on using direct and indirect heat. Proper maintenance and safe operation will ensure your grill performs reliably for years to come. Always follow the manufacturer’s instructions for specific cleaning and maintenance procedures.




Write Your Review
No reviews yet. Be the first to share your experience!