


Achieving a deep, flavorful sear on thick steaks or charred vegetables requires serious thermal energy from your cookbox. Backyard cooks often struggle when their equipment tops out at lukewarm temperatures that merely steam food rather than searing it. Learning how to get my grill hotter starts with identifying whether the issue stems from restricted airflow, fuel delivery problems, or insufficient preheating. Many pitmasters also experiment with specialized accessories like smoker box options to build aromatic complexity once their heat foundation is firmly established.
Different grill styles demand distinct diagnostic approaches because charcoal relies entirely on draft control while gas systems depend on mechanical pressure. A simple tripped safety valve on a propane tank can choke burner flames to a fraction of their normal output without warning. Similarly, accumulated ash under a charcoal grate can silently starve coals of the oxygen needed to reach blistering cooking conditions. Inspecting your setup methodically helps restore peak operating temperatures so you can achieve the rich crust and quick cook times your recipes require.


Practical Methods for Increasing Grill Temperature and Heat Retention
Searing a steak properly requires intense thermal energy that transforms surface proteins into a caramelized crust. When an outdoor cooker fails to climb past moderate heat, the cooking process slows down and juices escape into the firebox. Understanding the balance between fuel supply, oxygen delivery, and thermal mass allows you to diagnose weak heat output quickly. The following guidelines explain how to identify bottlenecks in your equipment and push your cooking grate temperatures to their full capability.
Understanding Airflow Dynamics and Combustion Physics
Every fire requires a precise balance of fuel, heat, and oxygen to maintain efficient combustion. When an outdoor cooker runs cooler than expected, the combustion chamber is almost always starved of oxygen or smothered by poor exhaust flow. Air drawn through the lower vents feeds the base of the fire, where oxygen molecules bind with combustible gases released by the fuel. This reaction generates intense heat, expanding the air inside the firebox and driving it upward toward the cooking grate.
Natural convection creates a steady draft that pulls cooler, oxygen-rich air into the bottom while pushing hot exhaust gases out through the top vents. If either the intake or the exhaust is restricted, the draft stalls and the rate of combustion drops dramatically. Stalled combustion lowers the cookbox temperature and produces thick, acrid smoke that imparts an unpleasant taste to food. Maintaining an open, unrestricted path for air circulation is the foundational rule for pushing any grill to its upper thermal limits.
Troubleshooting Gas Grills and Regulator Bypass Mode
Modern propane regulators feature an internal safety mechanism known as an excess flow check valve. This protective device is designed to restrict gas flow if a hose ruptures or a severe leak occurs downstream. Opening the propane tank valve too quickly while the burner control knobs are open immediately trips this safety lock into propane regulator bypass mode. When bypass mode activates, the regulator limits fuel delivery to a tiny trickle, keeping grill temperatures trapped between two hundred and three hundred degrees.
Correcting a tripped regulator requires a complete and deliberate reset sequence. Turn off all burner control knobs, close the cylinder valve completely, and disconnect the regulator coupling from the propane tank. Wait two to three minutes to allow pressure inside the manifold to equalize before reconnecting the regulator hand-tight. Open the propane cylinder valve very slowly over several seconds, allowing gas to pressurize the line before turning on and igniting a burner.
Gas burner tubes can also develop internal obstructions that choke fuel delivery even when the regulator functions properly. Spiders and small insects frequently crawl inside the venturi openings to spin dense webs during periods of disuse. These webs disrupt the delicate fuel and air mixture, producing weak, sputtering flames that display a dull yellow color instead of a sharp blue hue. Disconnecting the burner tubes and cleaning them with a dedicated venturi brush or bottle brush quickly clears these blockages and restores full flame volume.
Fuel vaporization inside the propane tank directly impacts burner intensity during extended cooking sessions. Liquid propane must boil into vapor to feed your burners, a chemical process that draws heat out of the surrounding metal tank walls. When a propane tank runs low on fuel on a chilly evening, the tank can frost over and reduce internal vapor pressure significantly. Swapping to a full, room-temperature cylinder immediately restores normal manifold pressure and allows the burners to roar at full capacity.
Natural gas grills face a different set of supply challenges that can restrict maximum heat output. Long supply hoses or undersized home gas pipes often suffer from pressure drop when multiple high-output burners run simultaneously. Quick-disconnect fittings can also accumulate dirt or fail to seat completely, restricting gas volume before it enters the grill manifold. Inspecting your quick-connect couplers and ensuring your supply line diameter meets manufacturer recommendations ensures adequate gas delivery.
Charcoal Optimization Strategies for Maximum Heat
Charcoal fires generate thermal energy in direct proportion to the volume of oxygen passing through the coal grate. Bottom intake dampers must remain fully open when your goal is achieving the highest possible surface temperature for searing. Cold ash from previous cooks can easily pack into intake slots, creating an invisible barrier that starves lit coals of fresh air. Clearing the ash pan and sweeping the bowl clean before lighting your fuel ensures an unrestricted airflow channel.
The exhaust damper on the lid controls the speed of the draft passing across the charcoal bed. Keeping the exhaust damper wide open allows rising hot air to escape rapidly, creating suction that pulls fresh oxygen up through the coals. Partially closing the top vent traps spent gases inside the dome, slowing combustion and dropping grate temperatures within minutes. For maximum searing power, leave both the top and bottom vents wide open until you finish cooking over direct heat.
Fuel selection exerts a profound influence on how hot your charcoal bed can burn. Traditional briquettes contain clay binders, starch, and coal dust that burn steadily but produce heavy insulating ash that smothers airflow over time. Natural lump charcoal consists of pure charred hardwood that ignites quickly, burns significantly hotter, and leaves behind almost zero residual ash. Choosing dense oak or hickory lump charcoal allows the firebed to climb past seven hundred degrees Fahrenheit with ease.
How you ignite your fuel sets the trajectory for the entire cooking session. Using a chimney starter is the most reliable method for igniting charcoal evenly without relying on chemical lighter fluids that leave behind soot. Allow the chimney to burn until the coals at the very top develop a visible layer of light gray ash and produce glowing orange heat. Pouring out the fuel too early interrupts the lighting process and forces the coals to struggle for heat inside the cooler grill basin.
Charcoal arrangement dictates how effectively thermal energy transfers from the coals into your food. Spreading a single layer of briquettes across the entire bottom grate diffuses the heat and prevents the surface from reaching peak searing temperatures. Banking all of your hot coals into a compact, multi-layered pile creates a concentrated high-heat direct zone. This intense radiant zone provides the searing power required for caramelized crusts on items like Filipino pork barbecue skewers before moving food to a gentler indirect zone.
Diagnosing and Upgrading Heat Output on Pellet Grills
Pellet grills rely on automated mechanical systems to regulate fuel delivery, airflow, and internal chamber temperatures. Because compressed wood pellets are made from dried sawdust, they absorb ambient humidity rapidly if left in an unsealed container or hopper. Damp pellets crumble into fine dust inside the auger tube and burn at lower temperatures with excessive ash production. Emptying the hopper and refilling it with fresh, dry hardwood pellets from a sealed plastic storage bucket immediately improves combustion heat.
The combustion fan inside a pellet cooker blows air directly into a small steel burn pot located beneath the heat deflector. Ash accumulation inside this burn pot can smother the electric igniter and block the air holes drilled into the pot walls. Vacuuming out the burn pot before each high-heat session ensures that air from the induction fan circulates vigorously around burning pellets. Clear ventilation holes allow the pellet flame to burn with a clean, roaring torch effect rather than a sluggish smolder.
Pellet grill controllers calculate fuel feed rates based on readings from an internal resistance temperature detector, or RTD probe. Grease, smoke resin, and charred debris form an insulating crust on the surface of this metal sensor over weeks of cooking. An insulated probe misreads internal cookbox temperatures, causing the digital controller to throttle back fuel delivery prematurely. Gently scrubbing the sensor clean with warm soapy water or fine steel wool restores accurate readings and proper high-heat cycling.
Maintaining an adequate supply of pellets prevents the auger from running empty during high-temperature searing runs. High heat demands significantly higher pellet consumption rates than low-and-slow smoking sessions, draining hoppers rapidly. When cooking outdoors for prolonged periods, using pellet hopper extension kits helps ensure uninterrupted fuel flow into the auger channel. Keeping the hopper full prevents fuel cavitation, which occurs when pellets form a hollow funnel above the auger without dropping inside.
Internal heat diffuser plates must sit flat and true above the firepot to prevent radiant heat from deflecting away from the grates. Some modern pellet models feature sliding sear plates that open directly over the firepot for direct flame grilling. Opening the sliding plate exposes cooking grates to direct open flames, boosting localized surface temperatures dramatically. Checking that the drip pan and diffuser shields are seated securely according to manufacturer guidelines prevents uneven thermal distribution.
Selecting Grate Materials for Superior Thermal Mass
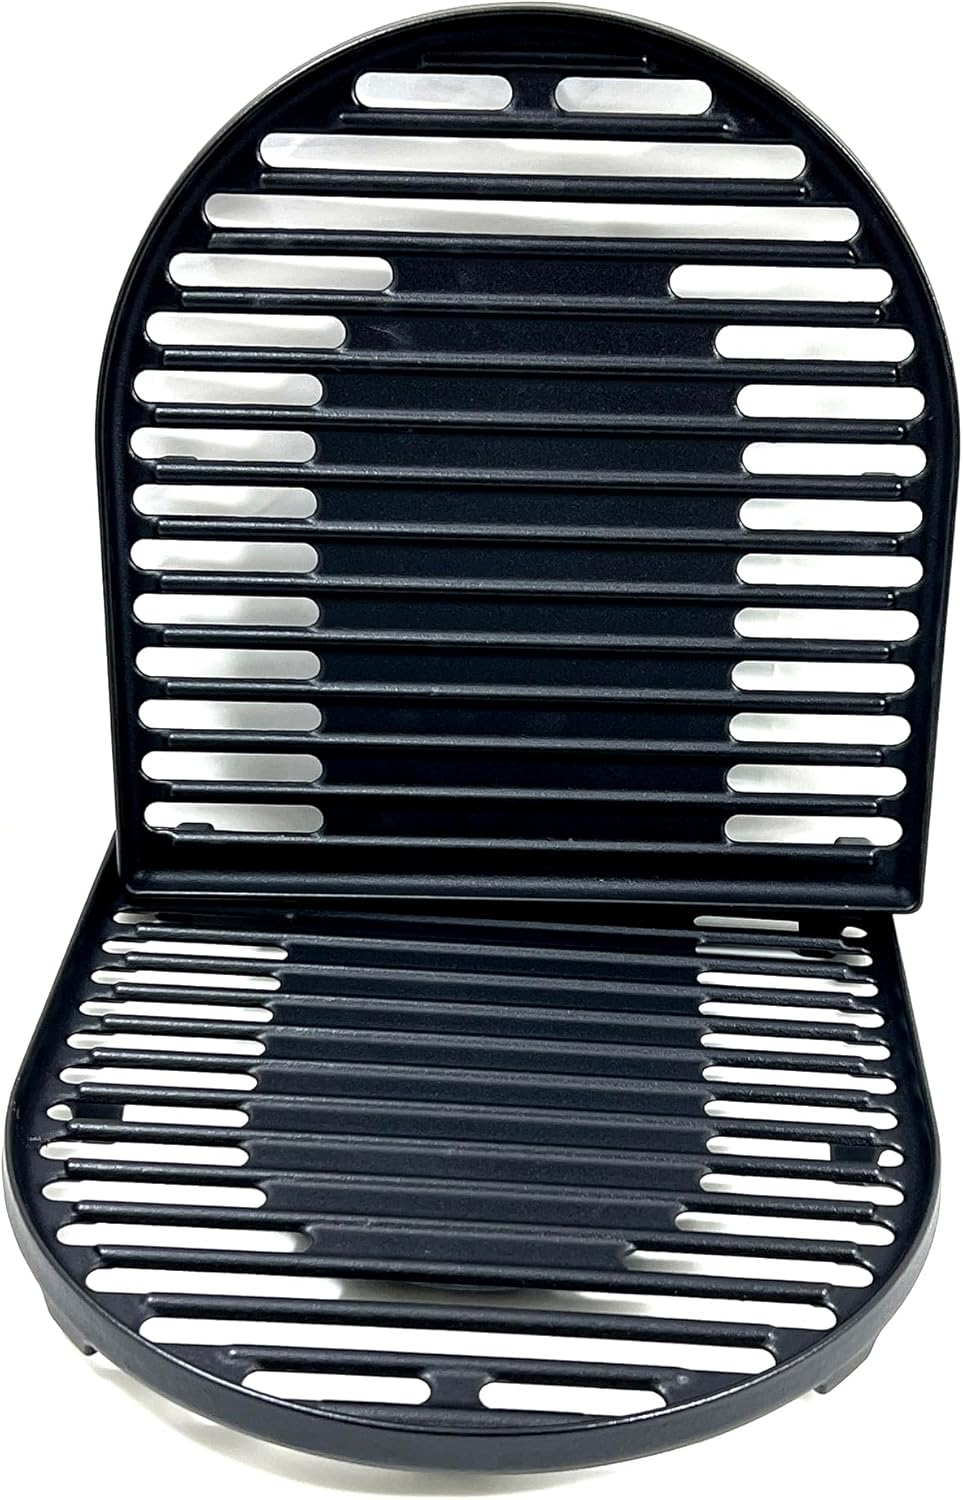
Cooking grates serve as the primary conduction surface transferring heat directly into the meat. Heavy cast-iron grates possess exceptional thermal mass, allowing them to absorb immense energy and retain it when cold food hits the surface. Thin stamped-steel or lightweight wire grates surrender their stored heat instantly, dropping surface temperatures and steaming meat rather than searing it. Upgrading to heavy cast-iron or thick stainless steel rods provides the thermal reservoir needed for dark, restaurant-grade sear marks.
Seasoning cast-iron grates with a thin coat of high-smoke-point oil creates a smooth, polymerized barrier that improves heat transfer. Carbonized food remnants left on grates act as a thermal insulator, preventing meat from making direct contact with the hot metal beneath. Brushing grates clean while they are screaming hot removes charred debris and leaves a clean, conductive cooking surface. A clean, seasoned metal surface transfers energy rapidly into proteins, triggering the Maillard reaction that creates deep savory flavor.
Preheating duration is just as critical as raw burner output when preparing a cooker for searing. Gas burners may heat the ambient air inside the dome within five minutes, but heavy metal grates take substantially longer to saturate with heat. Closing the grill lid and allowing the burners to run on high for fifteen to twenty minutes ensures the grates reach full thermal saturation. Giving your equipment sufficient preheat time prevents the disappointing temperature drop that occurs when cold food is placed on prematurely warm grates.
Managing Wind, Weather, and Outdoor Environmental Factors
Ambient weather conditions directly affect how much heat an outdoor cooker can produce and retain. Cold ambient air cools thin sheet-metal grill lids through external conduction, drawing thermal energy out of the cookbox faster than burners can replenish it. Winter grilling demands longer preheating times and higher burner settings to compensate for ambient thermal loss. Insulated grill blankets designed for pellet cookers can help retain heat during cold-weather cooking sessions without overworking the auger.
Wind is one of the most aggressive enemies of high-temperature grilling. Strong gusts can blow directly into rear vent gaps or lower burner openings, disrupting the flame pattern and blowing heat away from the grates. In severe cases, crosswinds can push burner flames backward toward the control valves or extinguish them entirely. Positioning your grill so that prevailing winds hit the back hinge rather than the intake openings helps maintain steady internal temperatures.
Restoring Heat Through Maintenance and Degreasing
Flavorizer bars and heat tents protect burner tubes from dripping juices while radiating heat upward toward the food. Thick layers of baked-on grease, carbon, and ash coat these metal tents over time, acting as a thermal blanket that absorbs heat instead of radiating it. Scraping heat tents clean with a putty knife or wire brush allows radiant energy to reflect directly into the cooking zone. Clean deflectors heat up faster and distribute thermal energy much more evenly across the entire surface of your cooking grates.
Warped lids, bent hinges, and worn perimeter gaskets allow substantial volumes of hot air to escape from the firebox. When hot gases leak out through perimeter gaps, the internal convection currents that cook food from above weaken significantly. Tightening hinge hardware and replacing worn firebox gaskets seals air leaks and locks thermal energy inside the chamber. Inspecting your cookbox seal ensures that every calorie of heat produced by your fuel remains concentrated on your food.
Grate Temperature Verification and Measurement Tools
Factory lid thermometers mounted in the grill hood rarely reflect the true temperature of the cooking grate. Heat rises to the top of the dome, meaning the lid gauge measures ambient air several inches above the food rather than the metal surface below. In windy conditions or when the lid is lifted, the dome gauge drops drastically even while the grates remain scorching hot. Relying on built-in hood thermometers can lead cooks to misjudge their actual searing capability and alter heat settings unnecessarily.
Using an infrared surface thermometer provides an instant, non-contact measurement of the actual cooking grate surface. Simply point the laser at the center of the grate to confirm whether the metal has climbed to the five hundred or six hundred degree threshold. Digital thermocouple probes clipped directly onto the grate rods also offer real-time surface temperature monitoring throughout the cook. Verifying grate heat with accurate instruments eliminates guesswork and confirms that your airflow and fuel adjustments succeeded.
Critical Safety Boundaries and Fire Prevention
Operating an outdoor grill at maximum temperature requires strict attention to outdoor fire safety protocols. Fuel-burning grills must never be used inside a garage, carport, screened porch, or any other enclosed building structure. Opening an overhead garage door does not provide adequate ventilation to eliminate the lethal risk of carbon monoxide poisoning. Outdoor placement at least ten feet away from combustible walls, wooden fences, and overhanging rooflines protects your home from accidental fire.
High firebox temperatures dramatically increase the risk of rapid grease flare-ups if drippings collect in the lower basin. Always inspect and scrape the grease catch pan before preheating your equipment for high-temperature direct searing. Keep an approved class B fire extinguisher or a box of baking soda nearby to smother grease fires quickly if an emergency occurs. Never throw water on a grease fire inside a hot grill, because water vaporizes instantly and splatters burning grease into a dangerous fireball.
Summary Workflow for Achieving Peak Grilling Heat
Diagnosing weak grill heat starts with identifying your equipment type and inspecting the fuel delivery pathway. For propane units, resetting the excess flow valve and scrubbing burner tubes usually restores roaring blue flames immediately. For charcoal cookers, sweeping away cold ash, opening both dampers fully, and loading fresh hardwood lump charcoal delivers intense radiant heat. Mastering how to get my grill hotter transforms ordinary cookouts into exceptional culinary experiences with perfectly seared crusts and juicy interiors.




Write Your Review
No reviews yet. Be the first to share your experience!